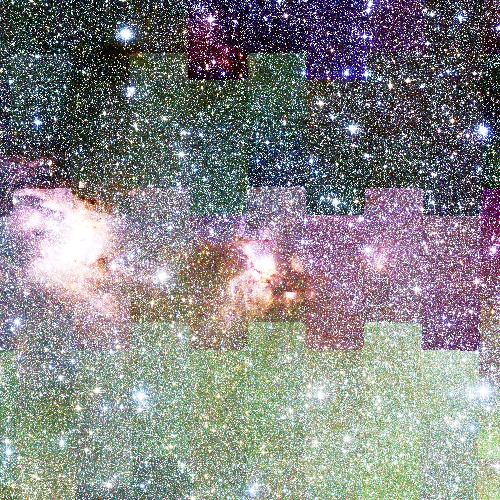
The dust obscured star forming regions could hide the fact that they harbour so many young stars. To overcome this, we must use a wavelength where we can see through these dust clouds and this is where the higher wavelength comes into play. There are many sky surveys being conducted in Infrared wavelengths and some of the most prominent once are Two Micron All Sky Survey (2MASS) [Near-IR], Spitzer's IRAC bands [Mid-IR] etc. These surveys contain a lot of information about these cosmic reasons but unfortunately our eyes can only view in the optical or visible wavelengths, so these surveys remain invisible to human eye. But we can still have the flux of IR emissions being recorded so we can measure the activity of these regions. One of the method to visualise this is to create a false color image of the region i.e. to shift the corresponding wavelength band back to visible using false colors.
We can do this using a software called DS9 (SAOImageDS9) developed by Smithsonian Astrophysical Observatory. We can get our data from public archive of NASA Skyview. So lets jump in to create a IR image of NGC 3582 Star Forming Region. NGC 3582 is in the Sagittarius arm of our Milky Way Galaxy and is on the way to form at least 33 massive stars.
Let's head over to NASA Skyview query form to get our images. In the 'Coordinates or sources' column we can simply enter 'ngc 3582' or center of the region. Now, we ae here doing 2MASS image but feel free to experiment with other bands. Let's head over to select '2MASS-J' first, then scroll down and select 'Coordinates' as 'J2000', image size of 1 degrees and 500 pixels here. The image size could be varied according to strength of your PC ;). A new window with an image should open which contains J-band image, go ahead and click on download 'FITS' file. Repeat this again for H and K band images.
Now we have all three band image in form of a FITS file. FITS is short form of Flexible Image Transport System and is most commonly used format in Astronomical images. We are now ready to headover to SAOImageDS9 or simply DS9. (download from the link mentioned above, for linux you can just sudo install ds9).

In DS9, from top toolbar select 'Frame' and open 'New Frame RGB' and load J-band image into B or Blue band now head over to 'Scale' on toolbar and check 'Histogram Equalization' and 'ZScale'. You are ofcourse free to experiment with other scales and this is in fact done to identify different objects. Now, choose the G or Green band and load the H-band image. At this point you cannot see any change, because the B band is over the G band, uncheck the B band in the RGB pop up box and you can see the new loaded file now and repeat same thing with scale to get G band color. Now, again uncheck the B and G band, and now load the K band in the R or red band and apply same scale. Finally, in the RGB pop up window check all the three RGB band and a three channel image would be ready for you, which should look something like figure 1.